Tips & Tricks – Making Light Work of Switch Valve End Plug Testing
Randall Schroeder
As technicians, we are often faced with build issues that can sometimes be frustrating at first, but with a little ingenuity these frustrations can be turned around and made simple. In 1989, Dodge came out with the first Fully Hydraulic Electronic Solenoid shifting transmission A604 (no shift valves) that later became the 41TE. Originally, there were lots of issues that had to be worked through but with the success of this transmission, we now have gone into an age where most all the late model transmission are shifted through electronics. There are two different methods of controlling the shift, though:
1. Solenoids that control clutch feed oil being directed through the solenoid passageways seating switches — whether controlled switching from a checkball or in the case of this discussion, separation of switch plugs.
2. Solenoids directs oil to a shifting “switch” valve (such as a valve or plug named 1-2 or 2-3 etc.) that directs the oil to the clutch it controls.
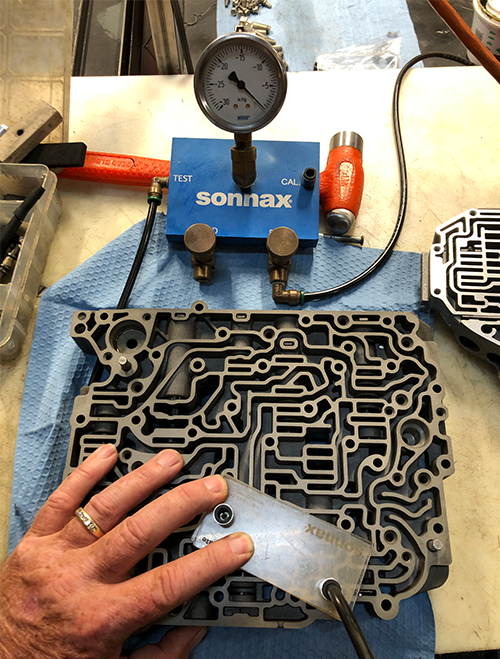
In this family of Dodge transmissions, switch plugs leaking can lead to lots of different issues ranging from pressure switch rationality codes, which are monitored through electronics, to burnt clutch assemblies that are being partially applied and smoking the clutches. Testing the bore fit of these plugs can sometimes be frustrating and often result in false answers when using conventional vacuum test procedures with a test plate (Figure 1). A good friend, fellow builder and coworker recommended this article be titled “Don’t Get Stiffed by the Switch.” So, let’s make this simple!
| Figure 1 – Typical Vacuum Test Plate Setup |
|---|
 |
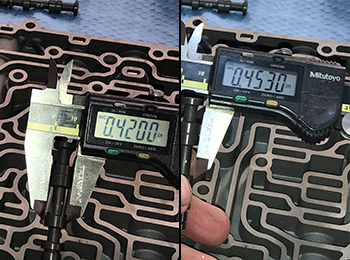
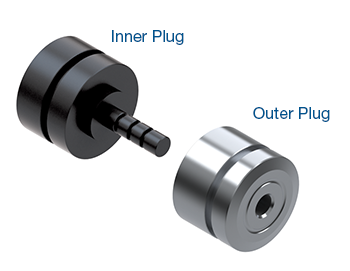
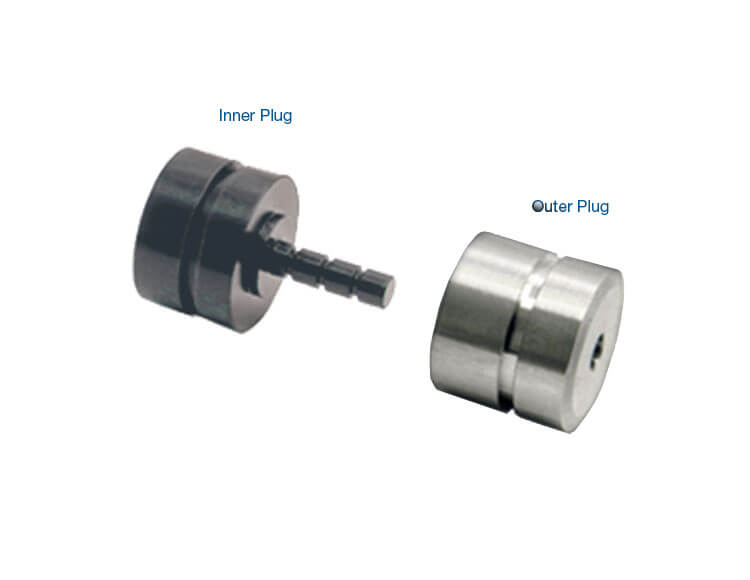
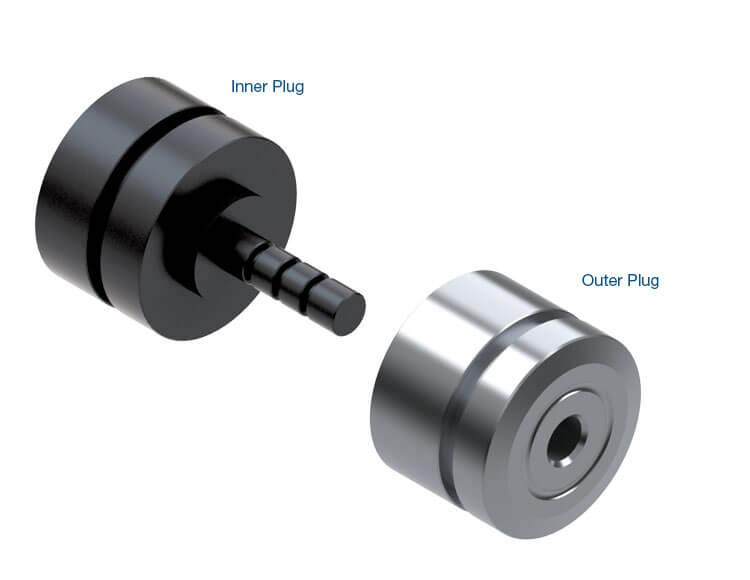
Keep in mind there are two different sizes of switch plugs used with these units: .420" and .453" (Figure 2).
| Figure 2 – Verify Switch Plug Size |
|---|
 |
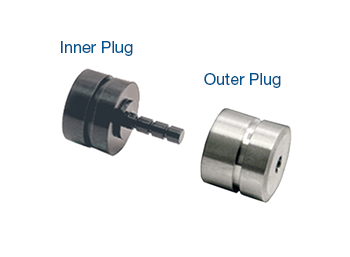
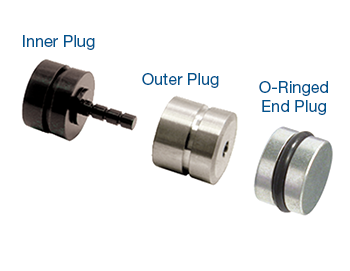
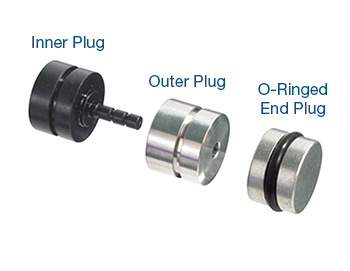
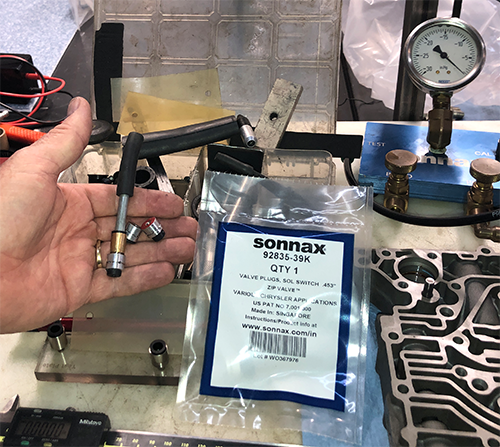
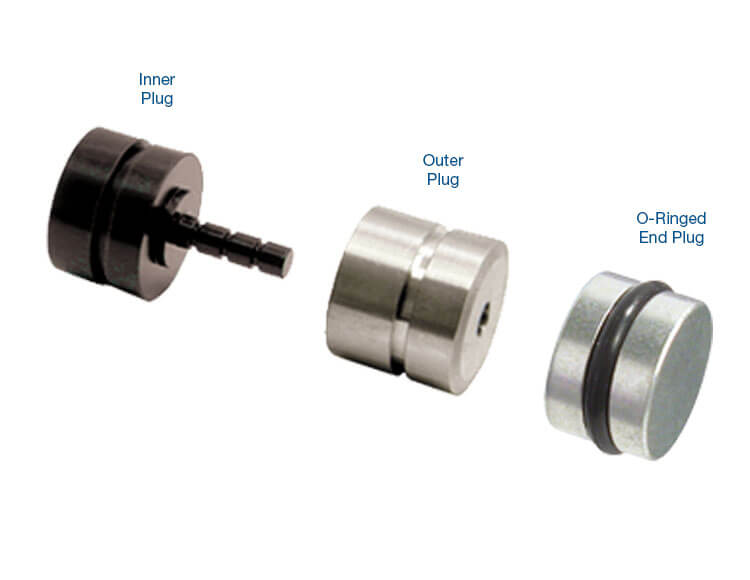
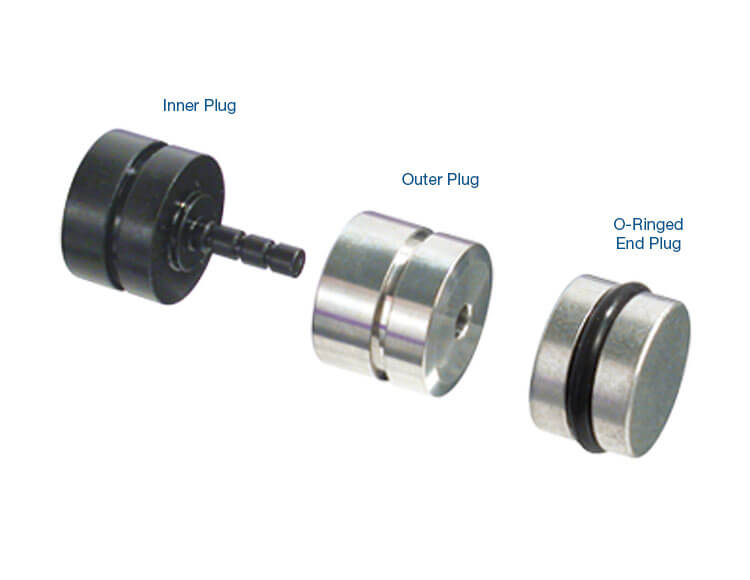
To make these simple testing tools you will need to have both the OE standard size plug to test with as well as the oversize version of the same plug (four plugs total).
Sonnax Replacement Parts Needed:
| 92835-02K – Standard .420" Plug Replacement Kit |
|---|
 |
| 92835-18K – Oversized Replacement Valve When the .420" Bore is Repaired |
|---|
 |
| 92835-39K – Standard .453" Plug Replacement Kit |
|---|
 |
| 92835-22K – Oversized Replacement Valve When the .453" Bore is Repaired |
|---|
 |
| VACTEST-07 – Vacuum Test Fittings |
|---|
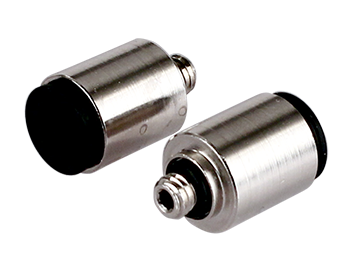 Two fittings in the package |
Here is the process:
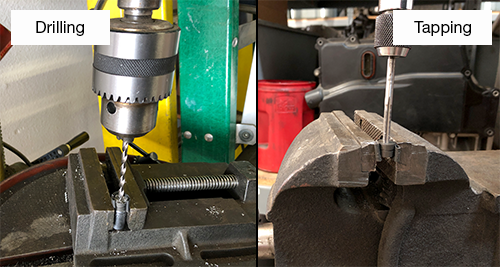
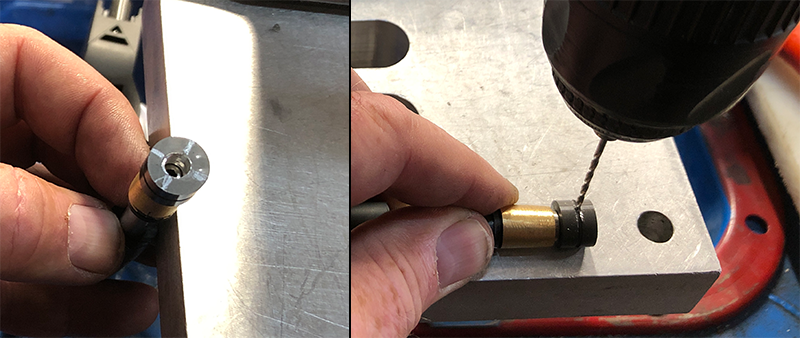
- Take out only one of the valve plugs per package to be used. There is a pre-drilled hole already in the aluminum cover valve.
- Enlarge the hole with a #21 drill or a drill that measures around .174". Be careful when drilling not to mark up the sides of the valve.
- Tap the new drilled hole with a 10-32 thread tap to allow the use of the vacuum test fitting (Figure 3).
| Figure 3 – Drilling & Tapping |
|---|
 |
- Drill four holes in the oil groove at "12-3-6-9" o-clock position in the valve using a .050" drill or smaller (this will allow vacuum testing simplified) (Figure 4). It is important to clean off the burrs from the drilling. It's not recommended to file the burrs; Instead, use a simple scraping method (Figure 5). To clarify, the OE valve is utilized in Figures 3–5 to illustrate these actions.
| Figure 4 – Drilling Vacuum Access Holes into Valve |
|---|
 |
| Figure 5 – Deburring |
|---|
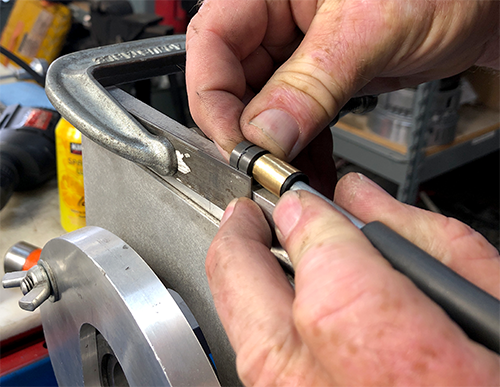 |
- Plug one end of the center hole that was drilled and tapped by using a suitable plug or the cut end of a 10-32 screw that sealed or glued in place or with silicone if you have time to let the tool set and the silicone to harden.
Now, use this tool as shown to vacuum test the switch valve bore (Figure 6). It's a simple way to get a very accurate test before and after every repair (Figure 7).
| Figure 6 – New Vacuum Testing Switch Valve Tools |
|---|
 |
| Figure 7 – Testing with Tool Before & After Repairs |
|---|
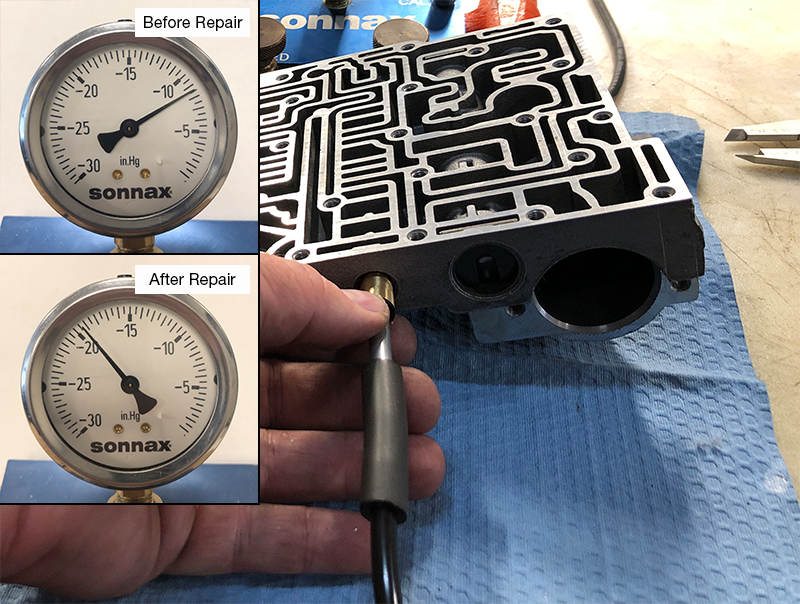 |
This tool was designed because the testing using the traditional test plate was not useful with the 62TE family of these electronic transmissions. Thinking outside the box, you can be creating homemade tooling to ease testing as well as assembly issues. Truthfully, in my travels and teaching, I have not met any technician who doesn't have an arsenal of homemade tools. This article is just a simple example of making a tool that makes testing a breeze. Always think, how can I make this test easier, and typically you will do the rest!
Randall Schroeder is a Sonnax technical support training specialist. He is a member of the Sonnax TASC Force (Technical Automotive Specialties Committee), a group of recognized industry technical specialists, transmission rebuilders and Sonnax Transmission Company technicians.
Related Units
Related Parts
Required
Recommended
Required
Recommended
Required
Recommended
40TE, 40TES, 41AE, 41TE, 41TES, 42LE, 42RLE, 45RFE, 545RFE, 65RFE, 66RFE, 68RFE
Oversized Solenoid Switch Valve Plug Kit 92835-22K
Fits bores containing OE switch valve with .453" dia. large spool only.
-
Helps cure:
- Codes 841, 868, 871, 988, 1775, 1776
- OD clutch burned
- Failsafe mode
- Bind-up
- Wrong gear starts
- TCC apply & release concerns (41 & 42 series)
- Engine stall (41 & 42 series)
- No lockup (41 & 42 series)
Required
Recommended
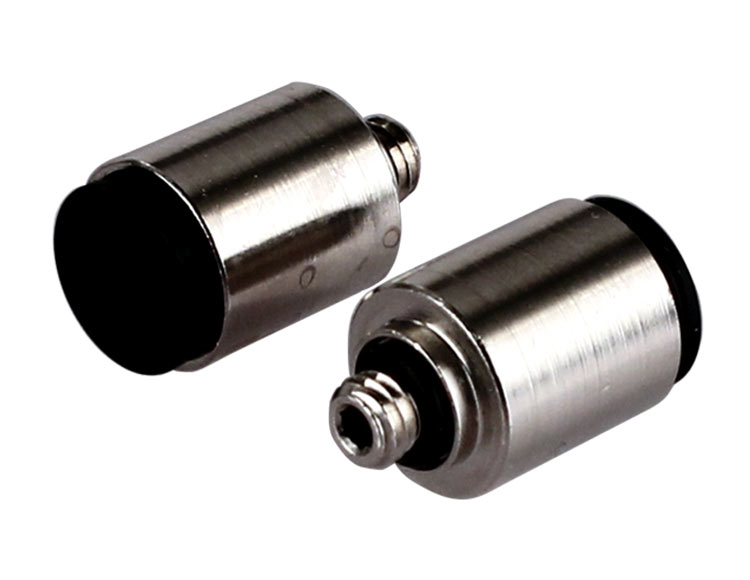
Vacuum Test Fitting VACTEST-07
- Thread Style: 10-32 UNF male end
- Tube Dia.: 0.25"
While Sonnax makes every effort to ensure the accuracy of technical articles at time of publication, we assume no liability for inaccuracies or for information which may become outdated or obsolete over time.